SPC suspension components. Fully adjustable tension rods, RUCAs’, rear links, and rear toe arms. They use a higher grade rubber then OEM components, and were on an S13 that did really well in the STS class last year, so they’ve been race proven. Coilovers being installed are stance GR+ Pro.
Anyways, on to the install.
Having never done a suspension install before on a 1:1 scale car
I wanted to take this slow and make sure i did things right. Plus it’s an s13, i had to wait and let some freeze off soak into some of the bolts.
First off, my tool piles.


Figured if I got too low I’d cut the board down to size so that I could lower the car onto it and pull out the jack. Of course I need the actual suspension goodies. This is only the stuff for the fronts.

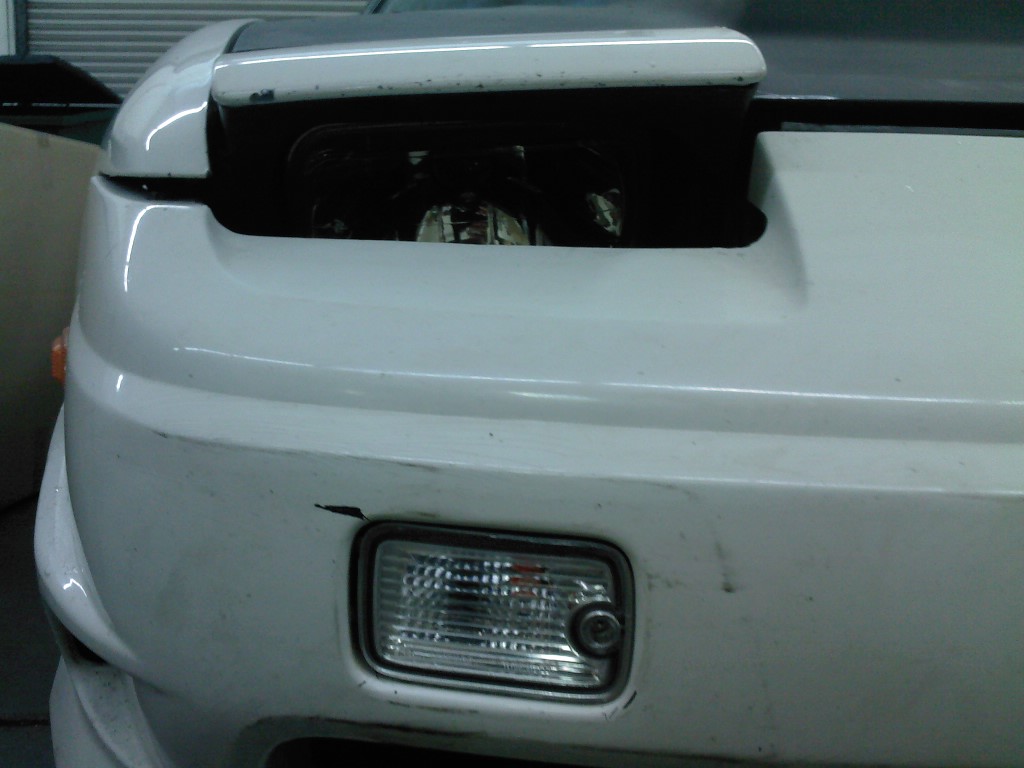
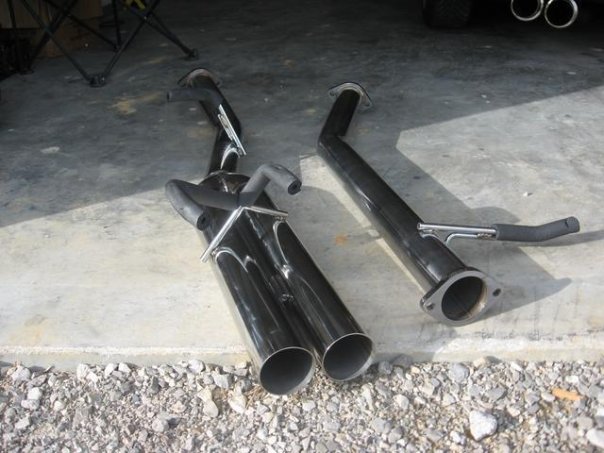
Now here’s what i started with. Stock S13 4×4 setup.
Front:
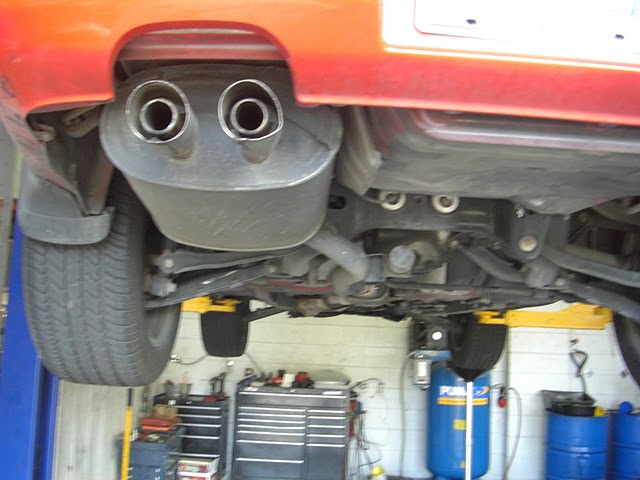
Rear:
Not the prettiest, plus I’m rocking 2 completely blown struts (as in they bottom instantly on the smallest thing and bounce FOREVER)
So i started on the driver front. I jacked the car, and blocked the rear wheels. Looking at everything, I decide bust out my trusty can of freeze off.

I used to like PB blaster, but this freeze off stuff is amazing. Because it chills while spraying the penetrating oil it gets in there much faster, and also seems to break off a lot of the rust from the freezing action. A+ product.
So here’s my crappy wheel well, filled with some nasty looking welds that patched some rust holes. I sealed it with bed liner so it’s all good, it’s just ugly.

Also decided while I’m sitting there, waiting for the freeze off to soak in, I might as well beat down that stupid little lip that comes off the rail.
So then I pull out the coilovers.

Much better looking then the factory pieces, after soaking for about 5 min, the bolts came off really easy so this part was easy.
Next up the SPC tension rod.

Hasn’t been adjusted out to match the length but you can see the beefiness to this piece. The adjustable turnbuckles work well, only time will tell for how corrosion resistant they are. but they seem to be painted/coated in some pretty strong stuff.
So here’s that piece installed.

Just remember, if you put these on, DO NOT TIGHTEN THE BOLT UNTIL YOU LOAD THE SUSPENSION!!!! If you tighten the tension rod bracket bolt with no load, you’ll split the bushing. I put a second jack under the knuckle, and forced the suspension to load. Then i torqued everything down.
leaving us with this corner finished.

So now we have this.

I didn’t lower it enough to need the boards. The jack just BARELY makes it out under the oil pan.
Onto the rear.
Here’s the SPC rear components compared to their OEM counterparts.


The OEM rear pieces are pretty flimsy. I could flew the upper links with my hand. Not that they should have a lot of load on them, but that’s dangerous. The SPC components, yeah, they aren’t going anywhere.
So here’s the rear driver side, mostly disassembled.

And here’s the finished product.

Something of interest i remembered to add this morning
For the outer bolt for the rear toe arm, you need to run the bolt from the INSIDE, or else it will rub against the coil. So you pretty much need to bolt up the top of the coil, slide the RUCAs’ around the coil but don’t bolt anything. Then, install the outer toe link. Then, slide the coil onto the shaft and put the RUCAs’ on. If you don’t do this, expect some fun re loosening everything and playing with it.
At this point i went in and had dinner. Came back out and once again loaded the suspension with another jack, then torqued everything down.

Back 
Front
From this point, finish up installing everything on the passenger rear, balance the heights out, double check everything, and get an alignment.
Ffrom the install, the SPC stuff is far superior to stock. The rubber they use for bushings is solid, not oil filled like the Nissan stuff and is MUCH harder. It also has thicker metal inserts through the bushing then the stock pieces do. The rear linkages now have some beef to them instead of being stamped metal that i can bend in one hand.
Turnbuckle adjustments move freely, as I’d mentioned we’ll have to see how they hold up 6 months or a year down the line, but the paint looks good on them. I’m expecting good things.
Something else
Also, wanted to add if you take a look back at the RUCAs’, they use 2 Allen headed bolts, to secure the threaded body around the rod. I’m not really sure why it’s setup like this, I personally would have preferred a solid connection around the adjustable rod, but there must be some reason. I just tightened the Allens to 35 ft-lbs like the instructions say and it seems to be fine. I’m going to be sure to check them after driving for awhile though.
Now to the nitty, gritty, details. Here’s the weights. (Note: All these were done with the weigh myself, pick up the box, step back on the scale method. Therefore results may not be entirely accurate but will give a decent representation)
SPC S13 tension rods ~5lbs each. +- 1.5 degrees of caster
SPC S13 Rear toe links ~3lbs each+- 2 degrees of toe
SPC RUCAs’ + Upper Links ~6lbs per side +- 3 degrees of camber no specs on rear caster adjust ability.
Stance GR+ Pro Fronts 16lbs each – Includes front camber plates.
Stance GR+ Pro Rears 15lbs each
Article by: krazydriver