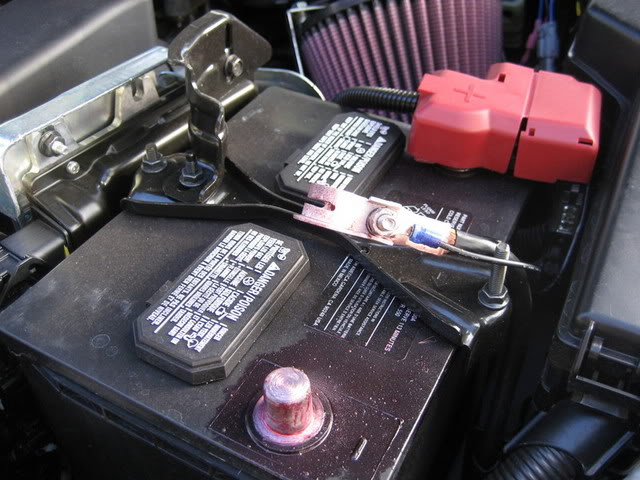
First, always disconnect the negative terminal of the battery when working with power
Remove wheels. Always chock your back tires for safety.

Underneath the bumper, there are 3 screws on each side which need to be removed. Not the clips, just the screws.
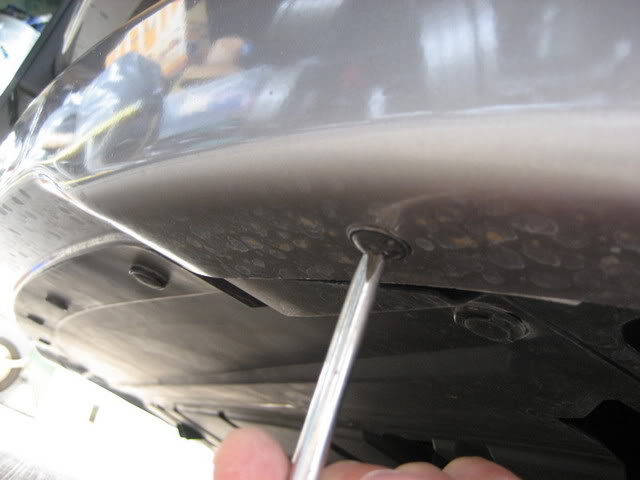
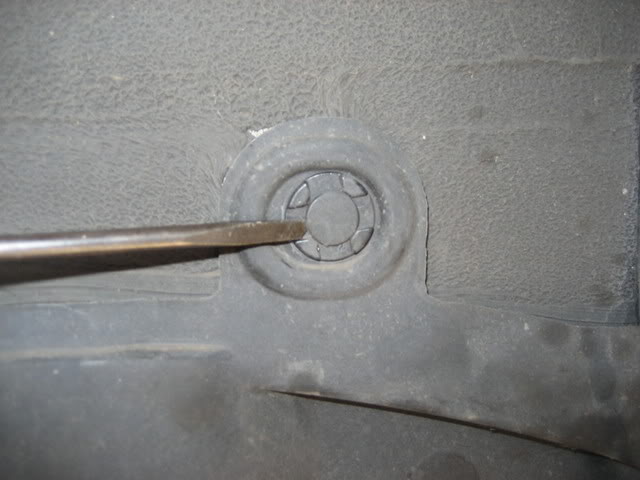
Inside the well, you’ll find about 8-9 clips that have to be removed. Remove by using flathead screwdriver and wedging the pins up, once exposed, pull out.
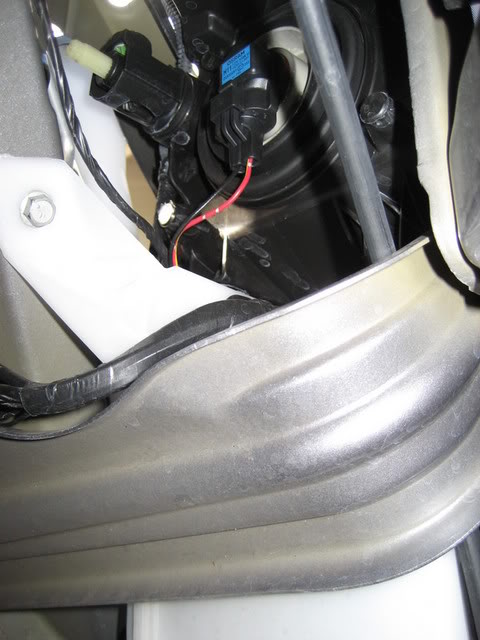
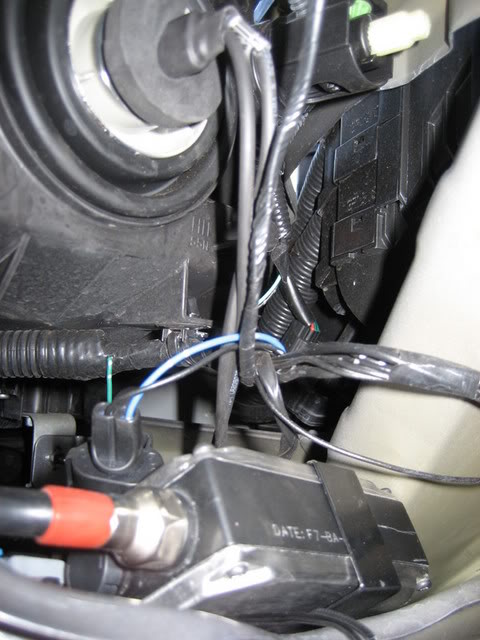
Carefully pull out wheel lining (2 pieces) exposing the space behind the headlight housing.
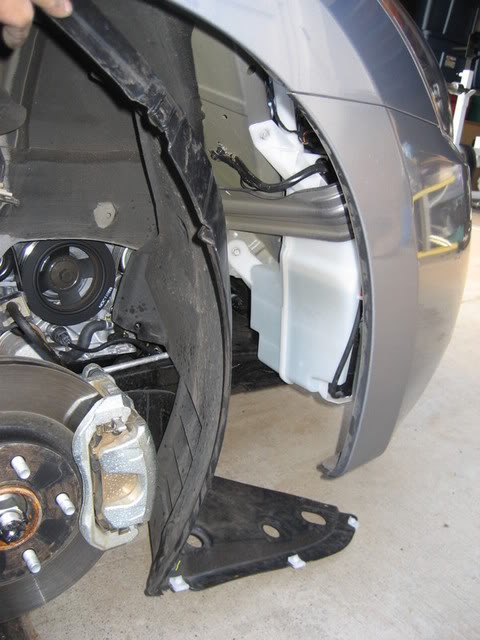
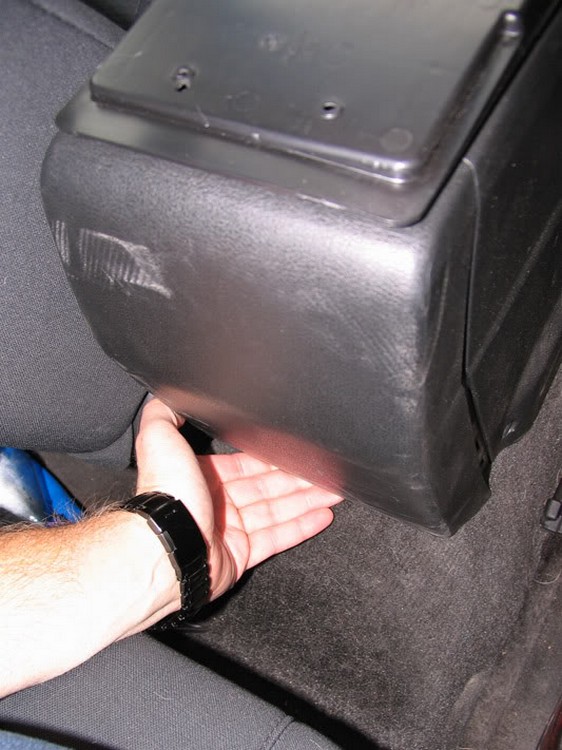
This is what you’ll see at this point.
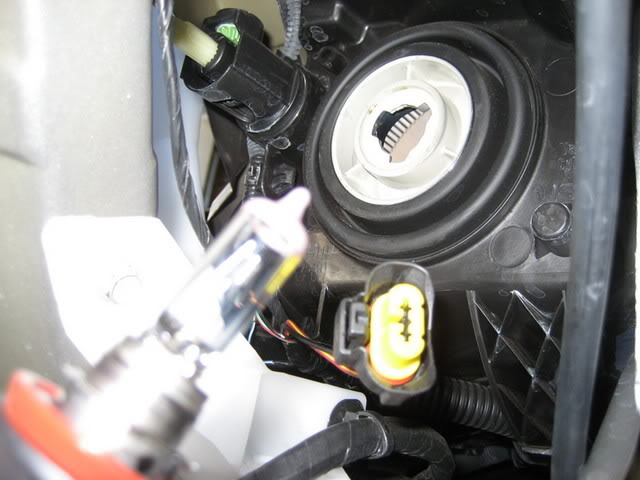
Remove stock bulb by disconnecting harness and twisting counter-clockwise, making sure NOT to touch the bulb in case you need to use it again.
Put new HID bulb in place by inserting and twisting clockwise until it locks in place.
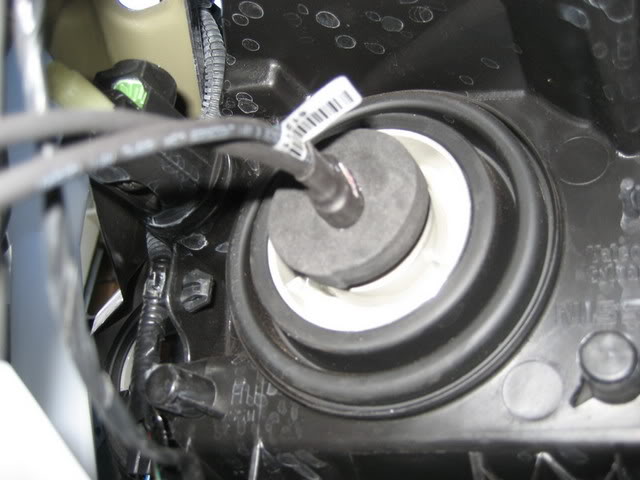
Connect harness to new bulb.
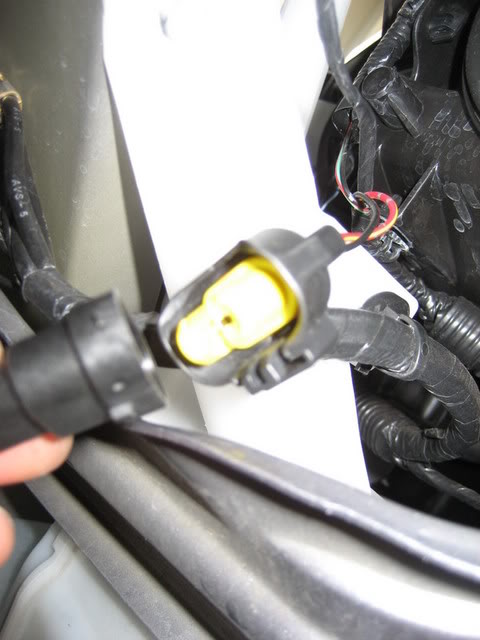
Now connect bulbs to ballasts.
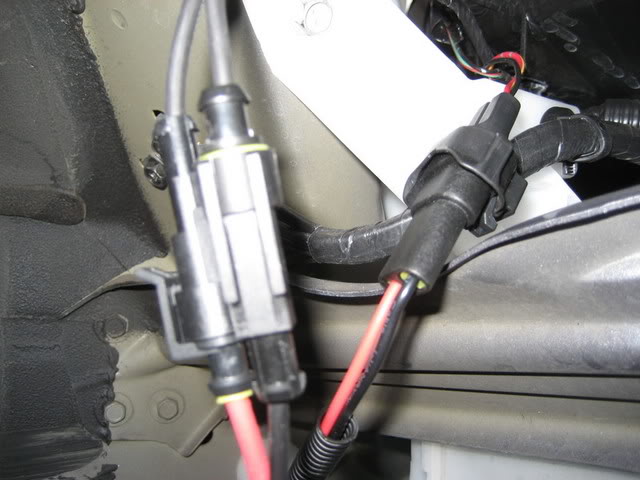
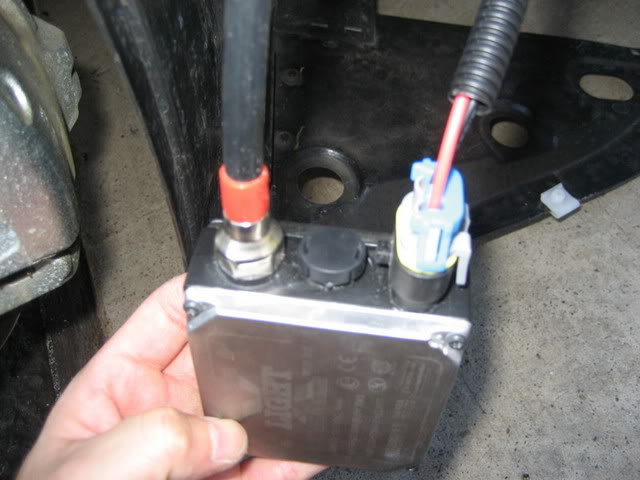
Find a place to mount the ballasts.
At this point I was rushing because the rain started coming again. I forgot to take a pic of my mount point on the passenger side. I used two existing holes in the frame where I ran wire ties through. Tied the mounting plate against the frame and that was it. The pic above is where I mounted the driver’s side. It’s on the frame also; I just used ties. Thought about drilling holes to mount is solidly, but the rain was coming down so I rushed and just tied it. Don’t mind the messy wires. I just took a pic of where I was mounting, then I cleaned it up with ties.
Just reverse the process with the shield, clips and screws. After putting everything back, mount wheel and lower the car. Reconnect the battery terminal and there you go.
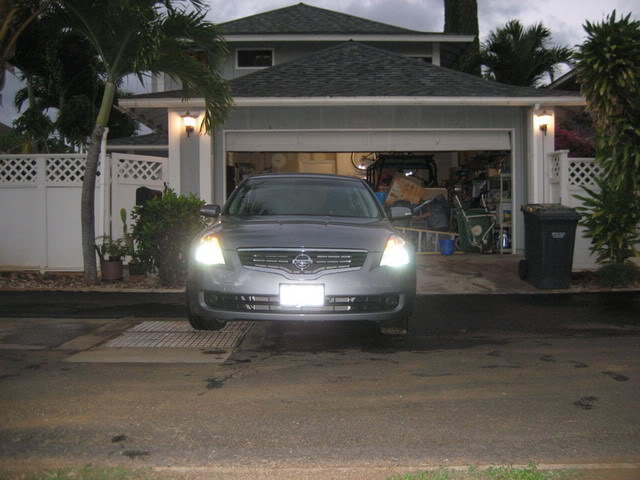
Here are a couple of pics so you can see the finished product:
Passenger side with HID and driver side with stock bulb. Just to show you guys the difference in color between the two. Can’t really tell because it was broad daylight, but just to give you an idea.

Diamond white

The lights are blue for the first 15-20 seconds after firing up. Then they brighten to a nice white.