Click Here for a How-To on removing your taillights– Clean the taillight you will be working on before proceeding
– Using a bottle of a soapy water solution, spray the taillight down. Do the same for the vinyl overlay once you have peeled it from the backing. This ensures a slippery surface so you have time to move the overlay around before it starts to dry and adhere to the taillight.

– Lay the overlay on the taillight, carefully lining up the shape to overlap on most of the edges so you have some slack to work with.
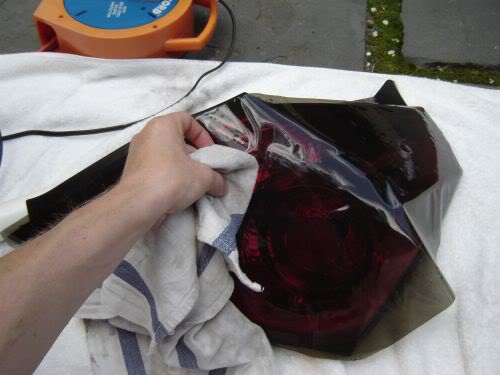
– Take a cloth and flatten out the tint on the flatter areas and get some excess moisture out.
– Use your hair dryer and warm up the vinyl to conform to the curves of the light. Don’t warm the entire overlay up, just hit it in the spots where your working on. It helps to have a partner hold the hair dryer while you stretch and pull the overlay.
– Take your time and work out all the bubbles and use heat when necessary to make the overlay conform to the shape of the light.
– Using a credit card with a cloth you can go over the light to get bubbles out and smooth it over the light.
– At this point you should have some excess over the edge of the light. I found it easy to heat this up and tuck it under to make a clean edge. I chose not to cut or trim it too much because I wanted it to look as clean as possible.
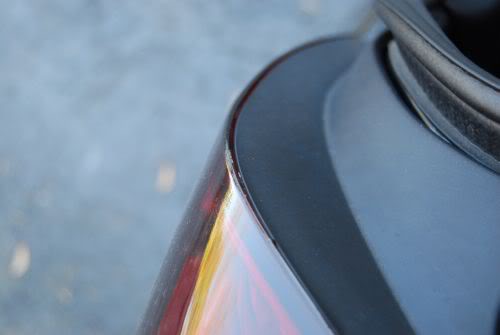
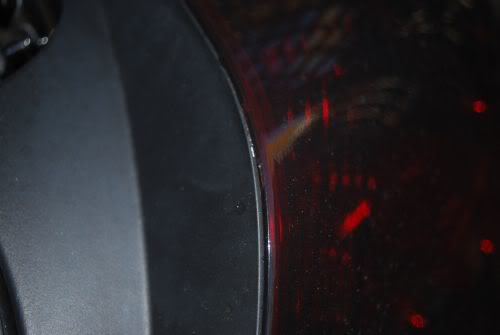
– I spent a lot of time around the areas where your tucking the vinyl behind the taillight. Using heat and trimming where necessary.
Take your time! DON’T GET IMPATIENT! Having a friend to help you would benefit you a great deal.
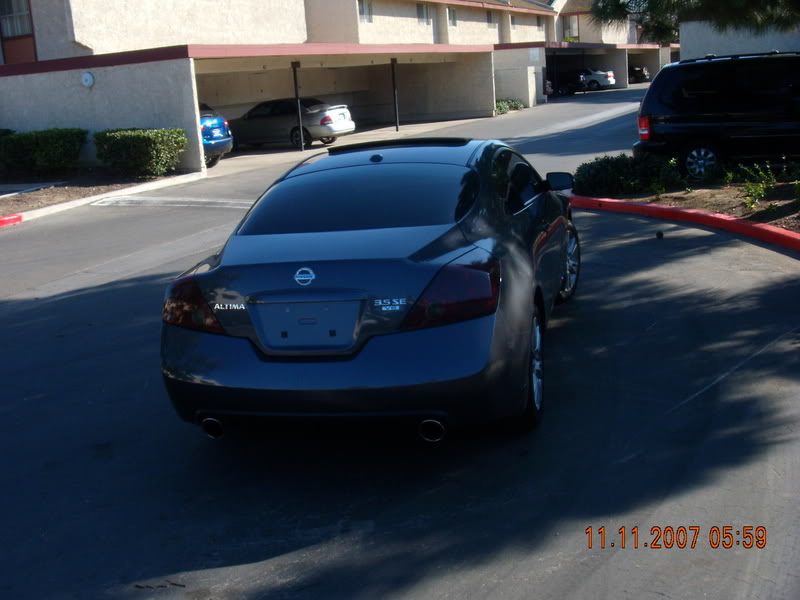
Final Product:
Writeup by SHIFT_COUPE