by qat727
After extensive searching on my part, I’ve determined that if a write-up on HVAC/switch bulb replacement already exists, it’s been titled incorrectly or is hiding from me. I did find this article pertaining to LED conversion.
I spoke to the writer and was informed that the dimmer no longer works for the HVAC. For those that want to retain dimmer function and the same color as the rest of the dash, bulb replacement is the best option.
*NOTE*
On the S13 HVAC, button indicators and slider illuminators are LED’s. Backlighting is handled by 2 incandescent bulbs.
On S13 dash switches, indicator lights and backlighting are all handled by incandescent bulbs.
I don’t have the part numbers for the bulbs, but they are expensive. I will provide an alternative for those with more time than money.
Disclaimer: All information is provided for reference purposes only. I will not be held responsible for any personal injury or property damage incurred as a result of following these instructions. I would suggest that you apply a degree of finesse to the plastic, considering its age. The write-up currently assumes you can get the HVAC and switches out by yourself. I may add additional instructions later.
Tools:
– small screwdrivers (flat and Phillips)
– wire strippers
– small pliers or tweezers
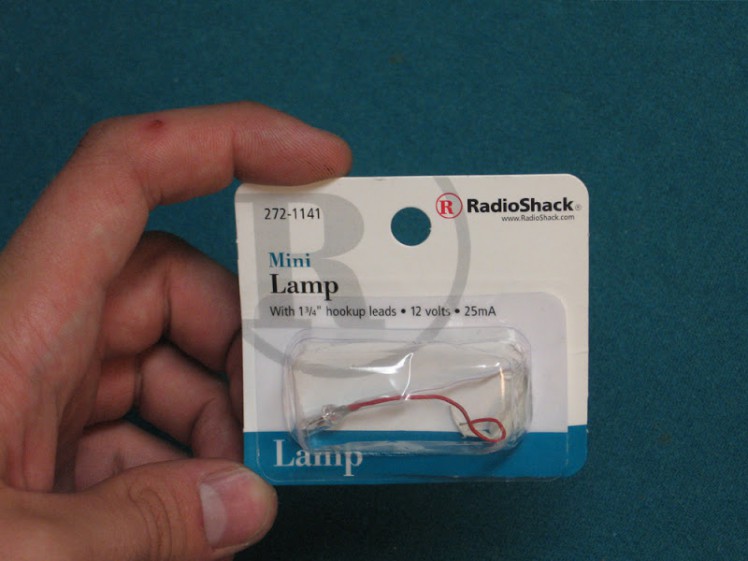
HVAC backlight bulbs: Radio Shack P/N 272-1141 $1.29 each
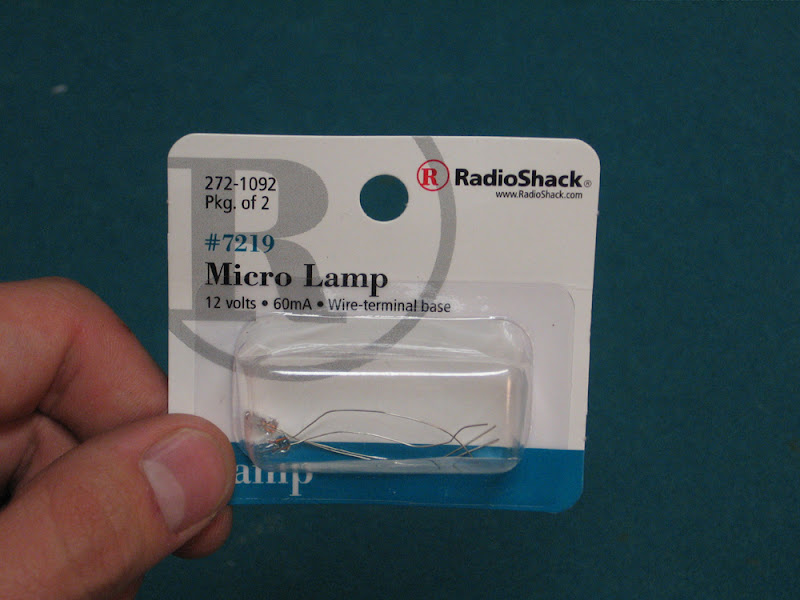
Switch bulbs: Radio Shack P/N 272-1092 $1.49/pair
Procedure:
= Climate Control Lighting =
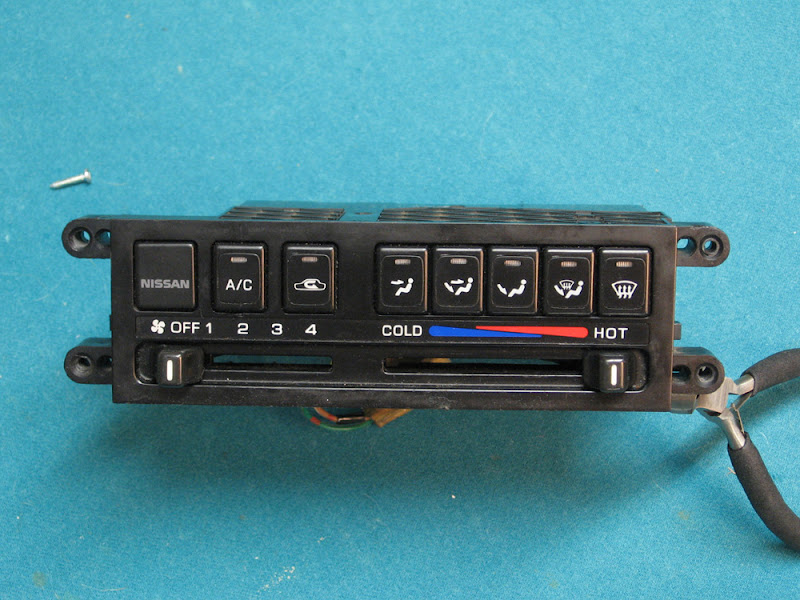
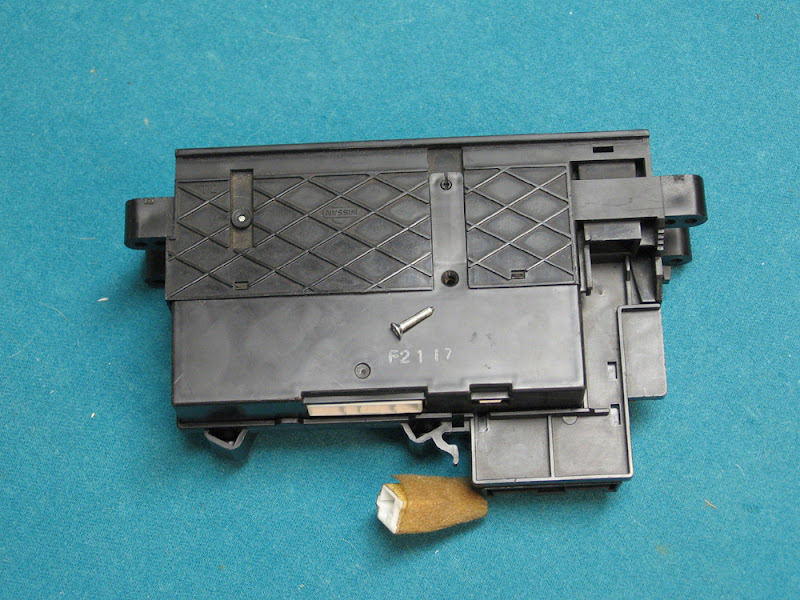
First, remove the slider switches

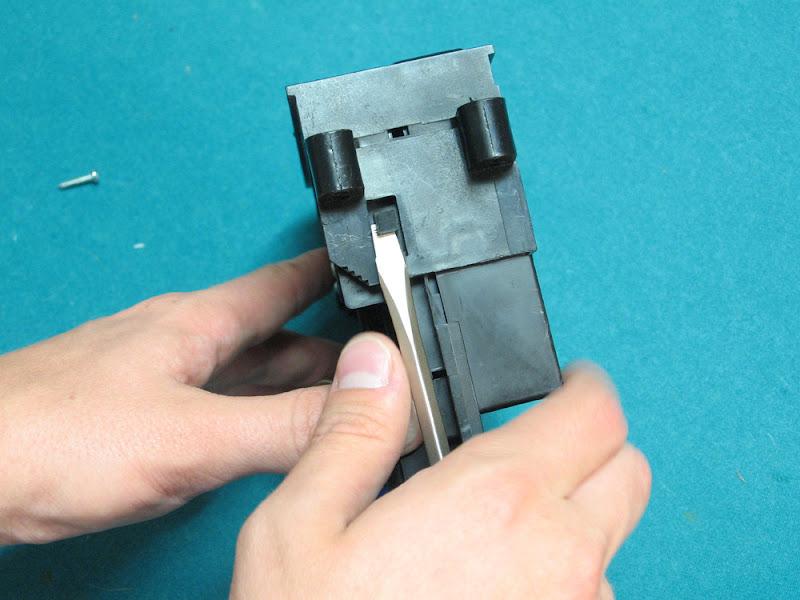
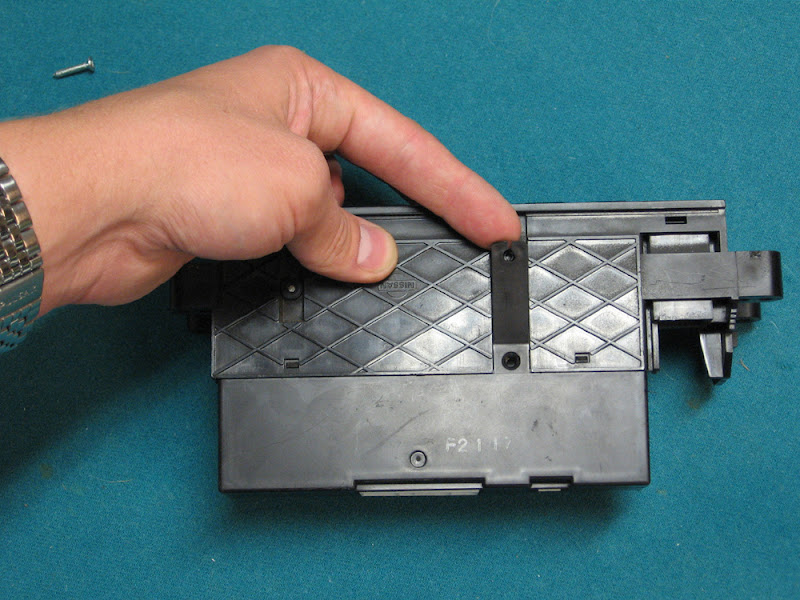
 Gently pry up on the tabs on either side of the HVAC. You’ll need to release the bottom portion of the unit and slide it off.
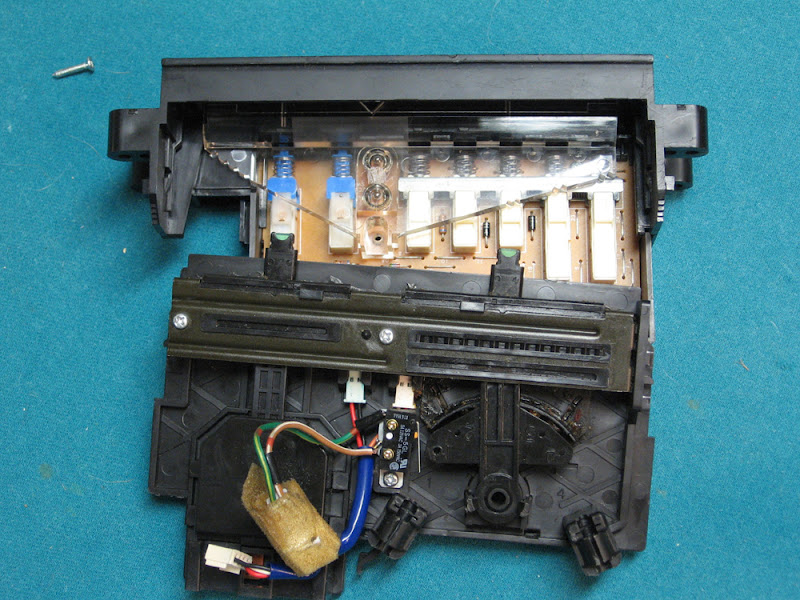
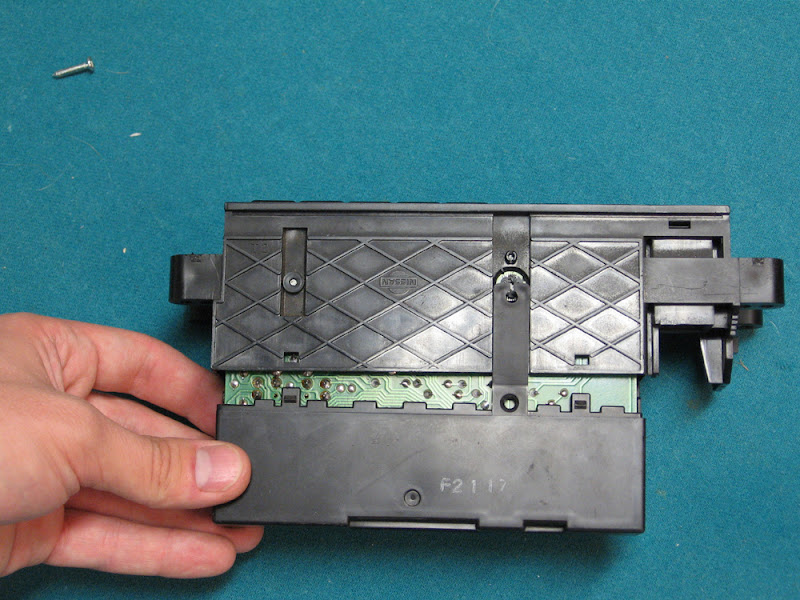
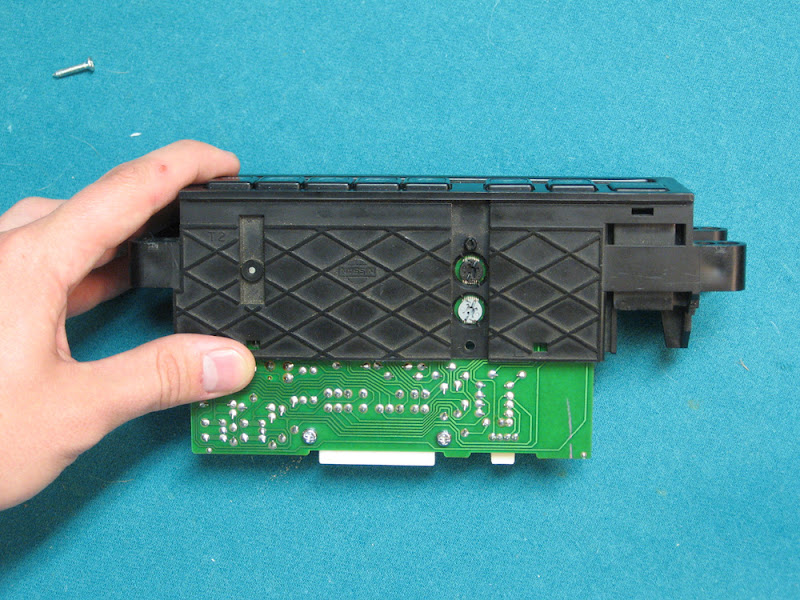
Remove the screw holding the top cover on. Pull the tab back and slide the cover off.
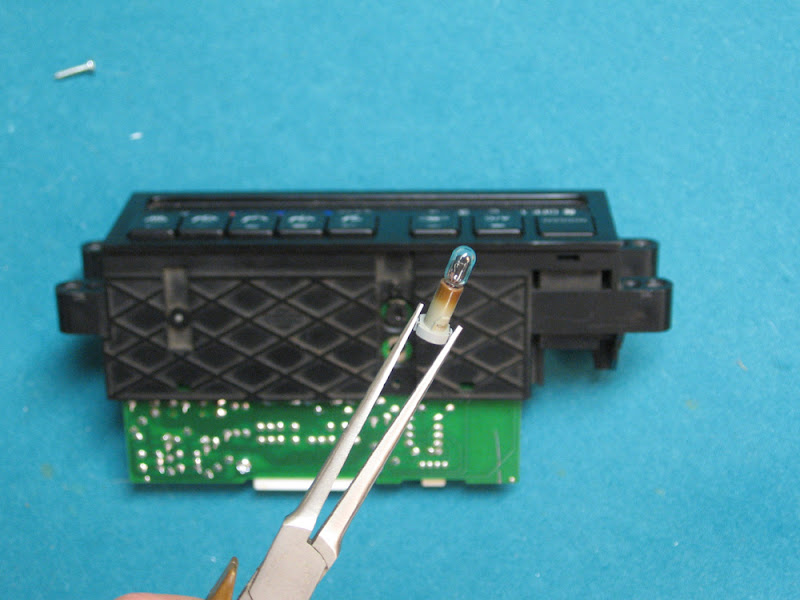
Now you can see the two bulb holders.
Remove them with a screwdriver and a set of pliers. The holder is a type that only needs to be turned ¼ turn to release.
*NOTE* At this point, you have two choices. You can buy another bulb and holder from the dealer, or go the Radio Shack route. It’s your choice, but the dealer route is more expensive but less time consuming. The Radio Shack route follows.
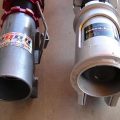
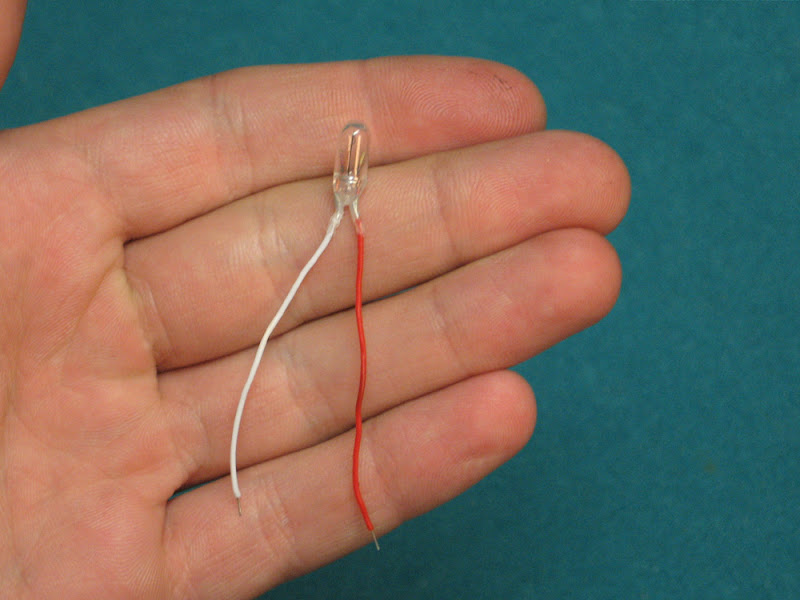
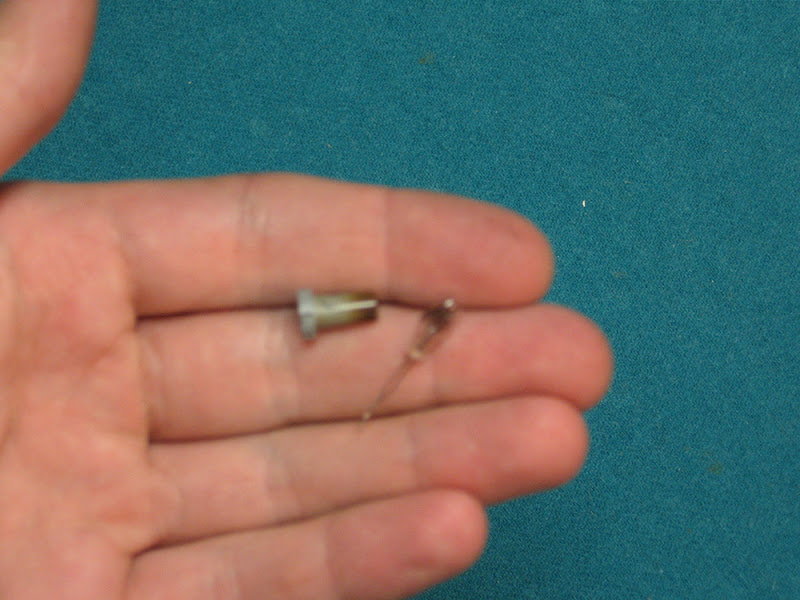
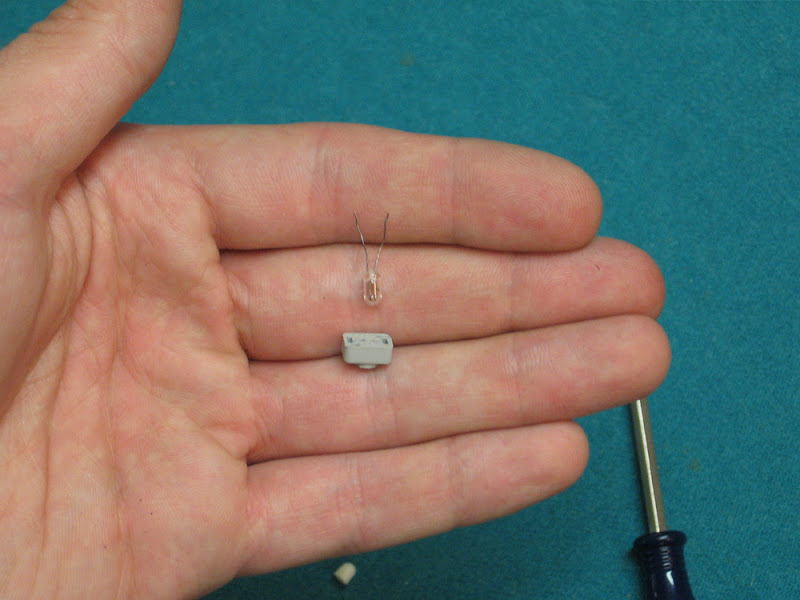
Here’s the bulb you need (probably available on Amazon):

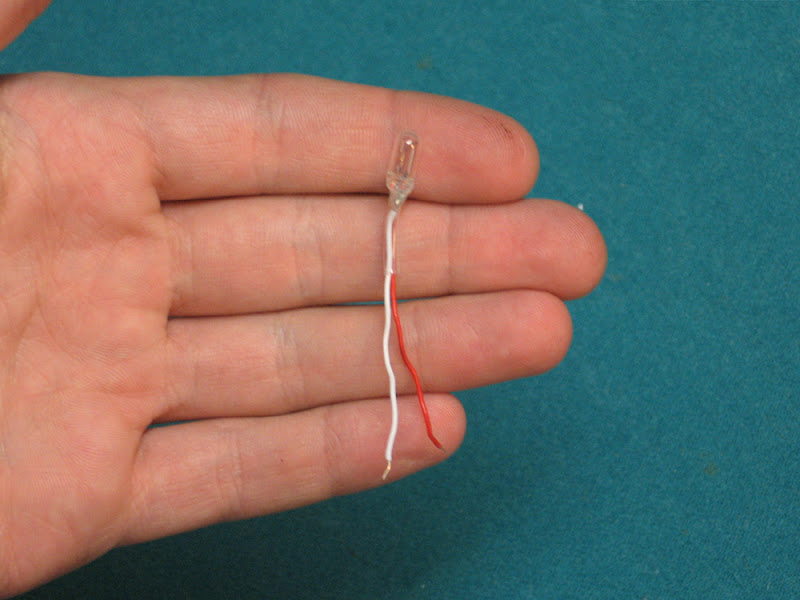
properly cut down:
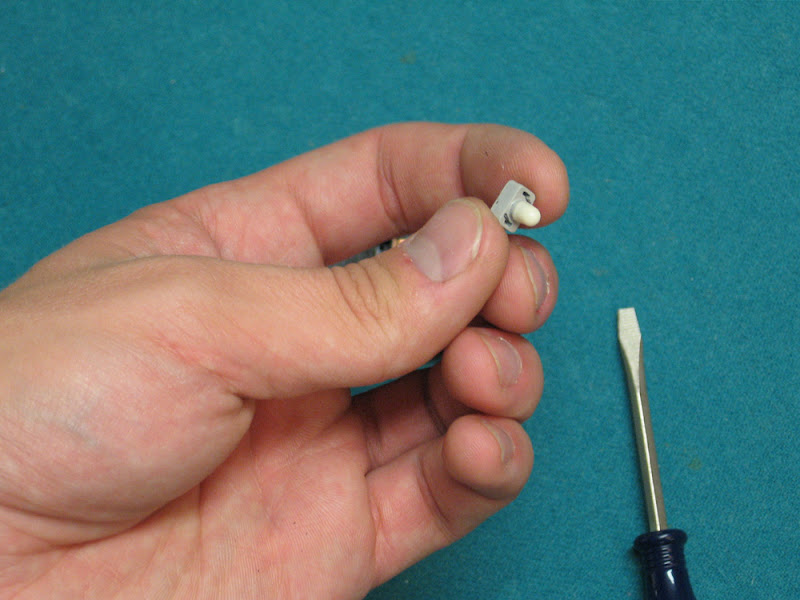
OEM bulb in holder. (Sorry about the blurry pictures. It’s the best I could get with my camera. It hates macro shots.)
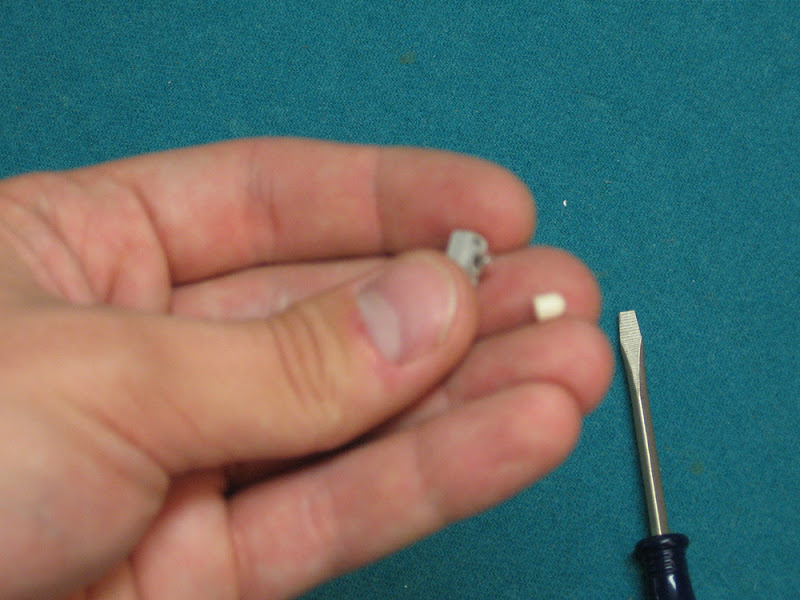
Pull the bulb out of the holder. There are two little wires curled around the holder that you will need to undo to get it out.
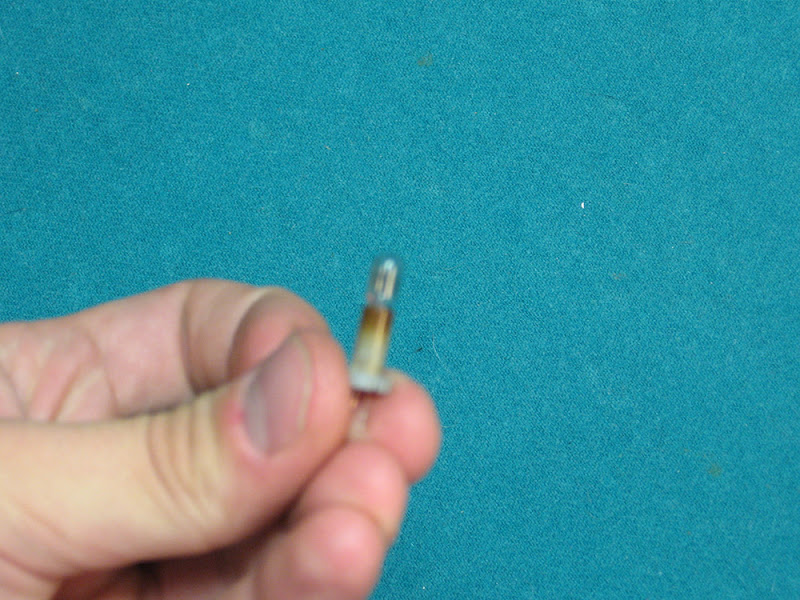
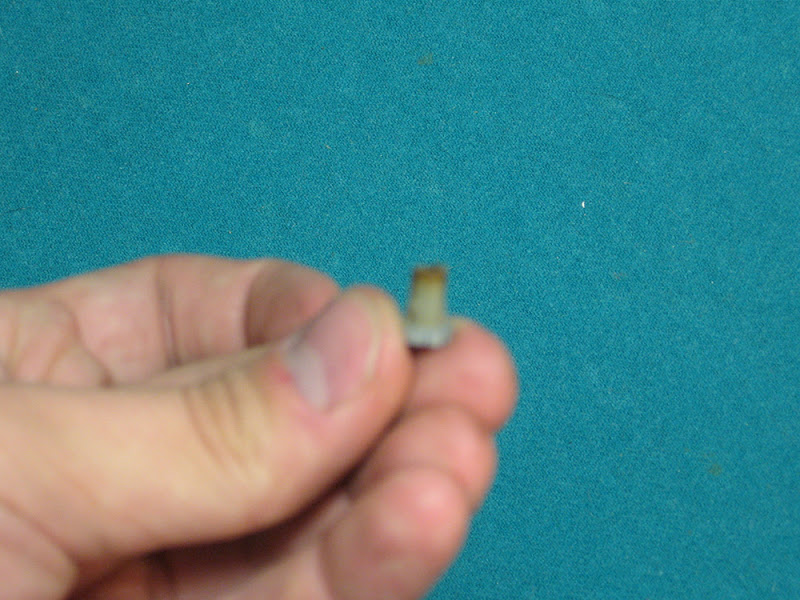
Trim the top edge off of the holder with a set of nippers or the like. It should look something like this.
Strip the majority of the insulation off the wires of the replacement bulb and insert it into the holder.
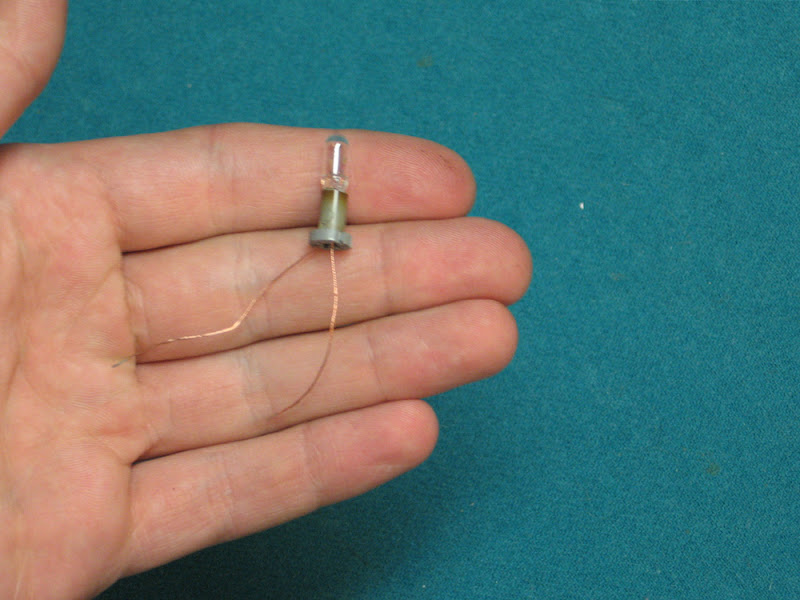
Cut the excess wire to length and rewrap the wires around the holder.
As you can see, the replacement is a bit bigger, but it still fits fine. Reinstall the bulbs and reassemble the HVAC.
Make sure you get this wire plugged back in properly, as it likes to come loose.
If you did everything right, your backlight bulbs and HVAC should work properly now.
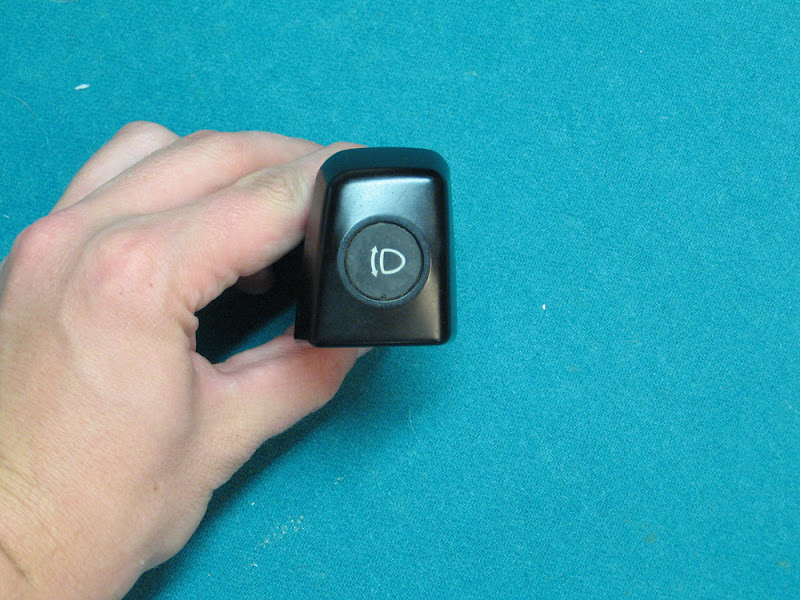
= Dash Switch Bulb Replacement =
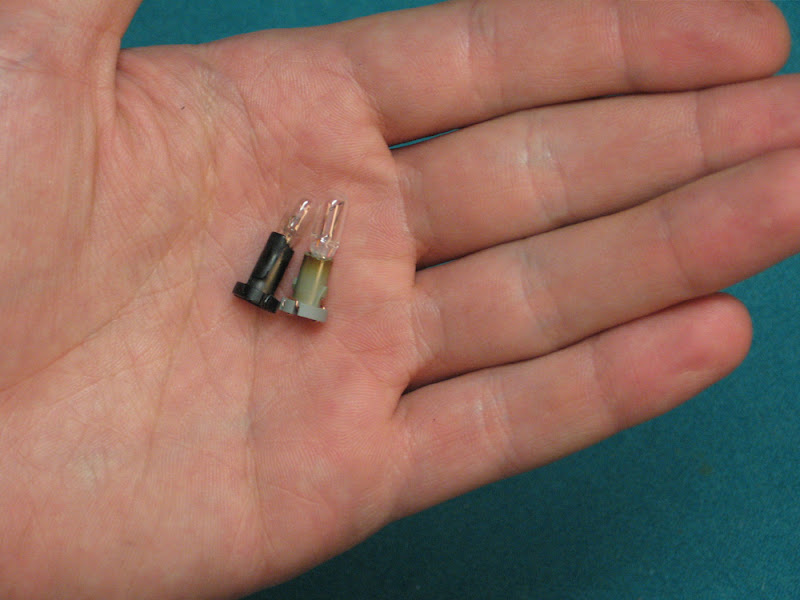
These are the Radio Shack bulbs you will need:
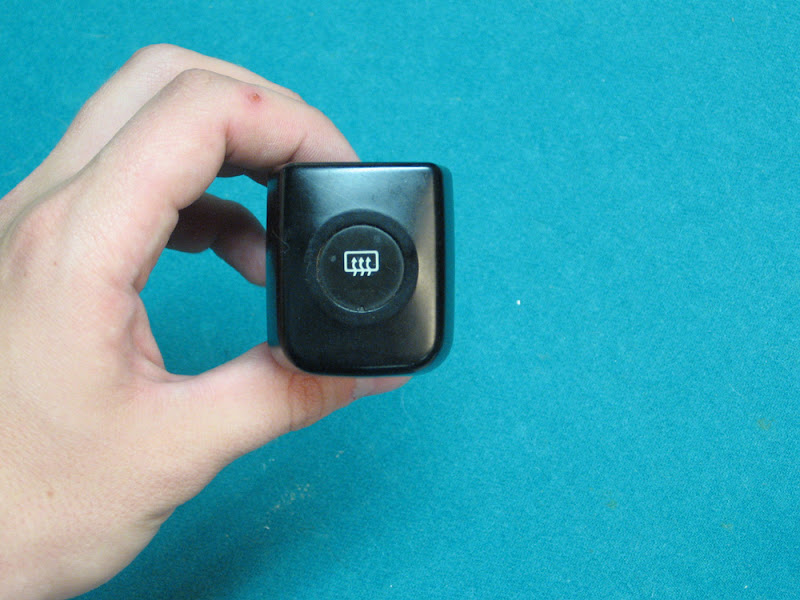
– Defroster Switch –
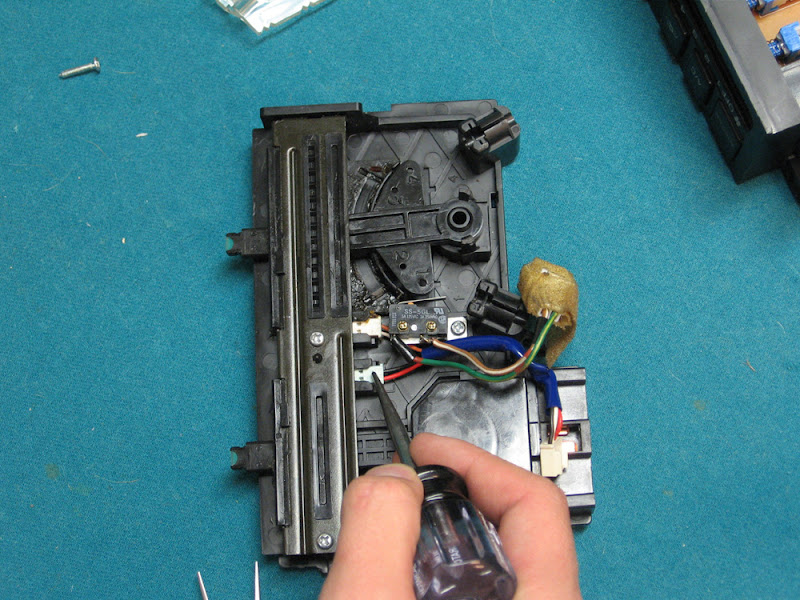
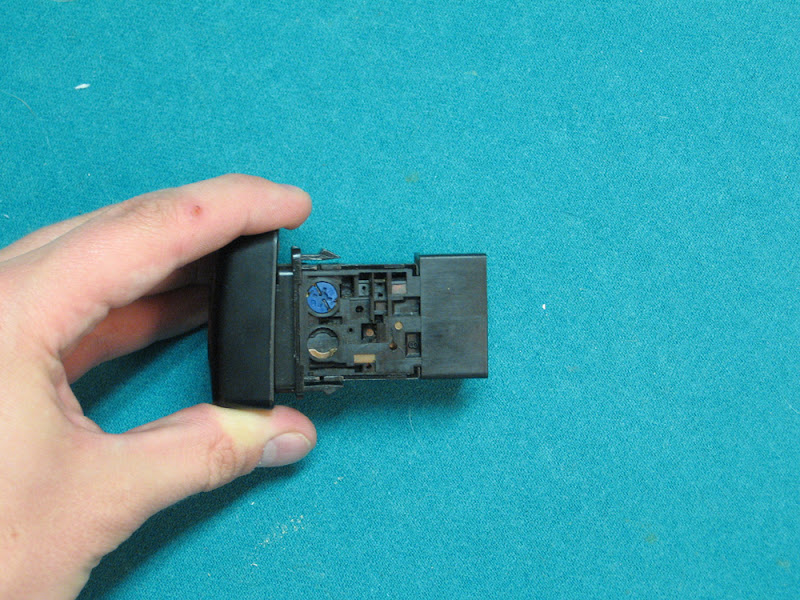
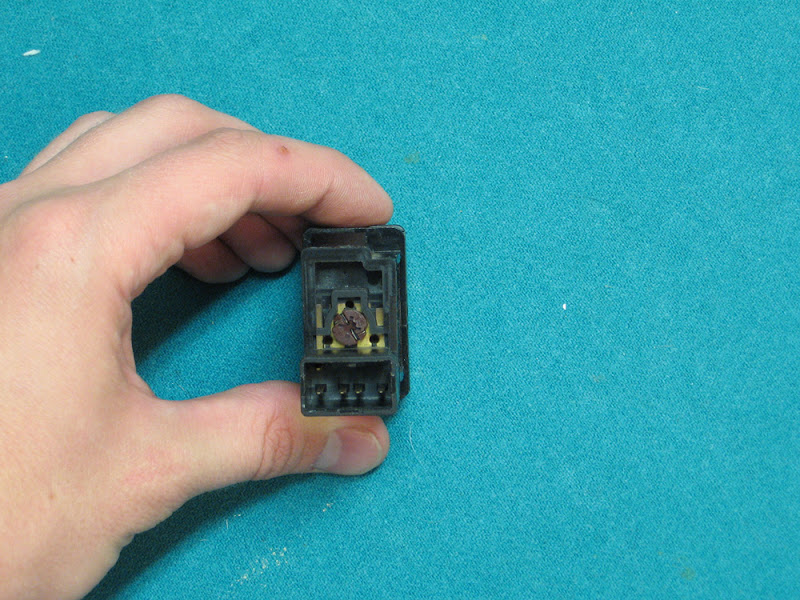
Remove the bulbs with a screwdriver and a set of pliers. The holders are a type that only needs to be turned ¼ turn to release.
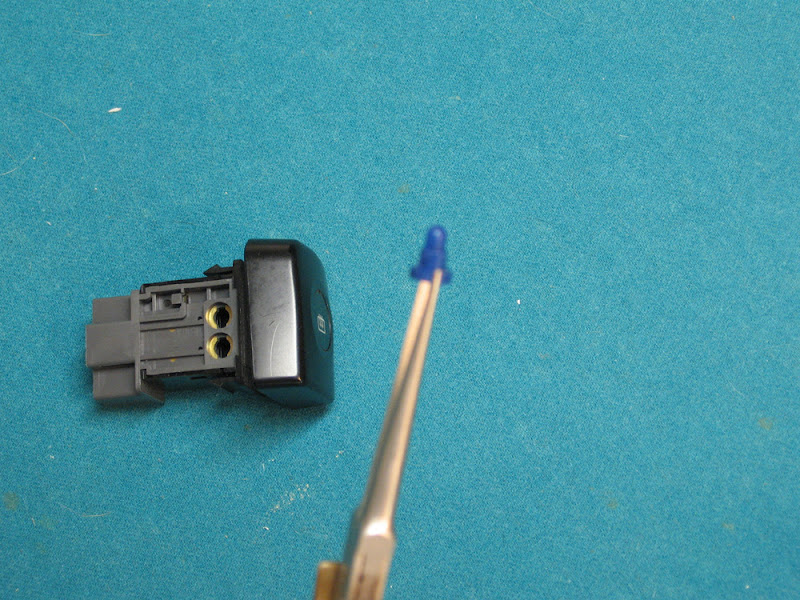
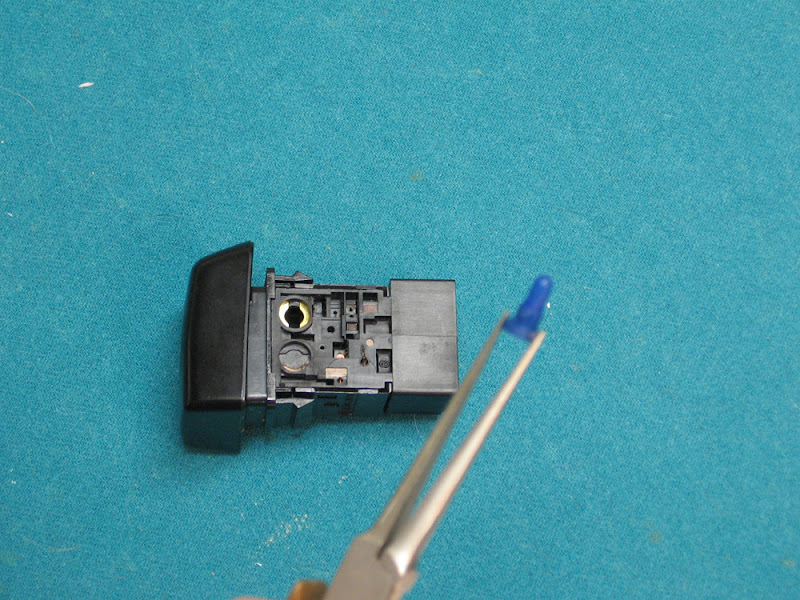
Unwrap the wires from the bulb holder and remove the bulb. Be careful with the holder, as you’ll need to reuse it.
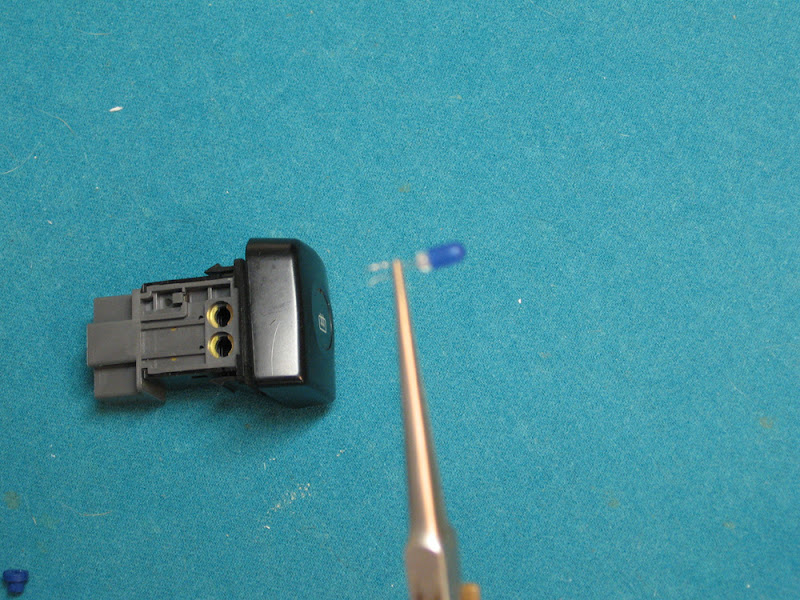
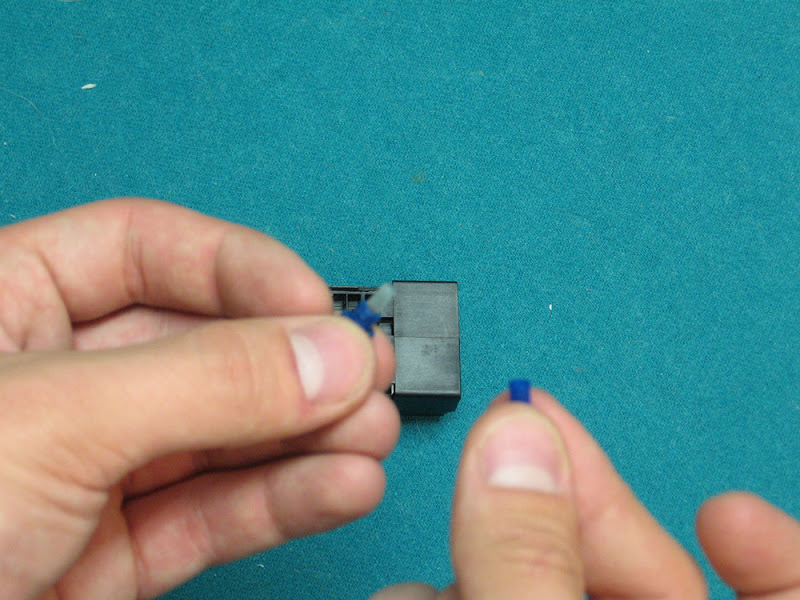
Carefully remove the bulb condom. You’ll need to reuse it, so make sure to get it off without ripping it. Match up the new bulb to the old one, and cut the wires to length.
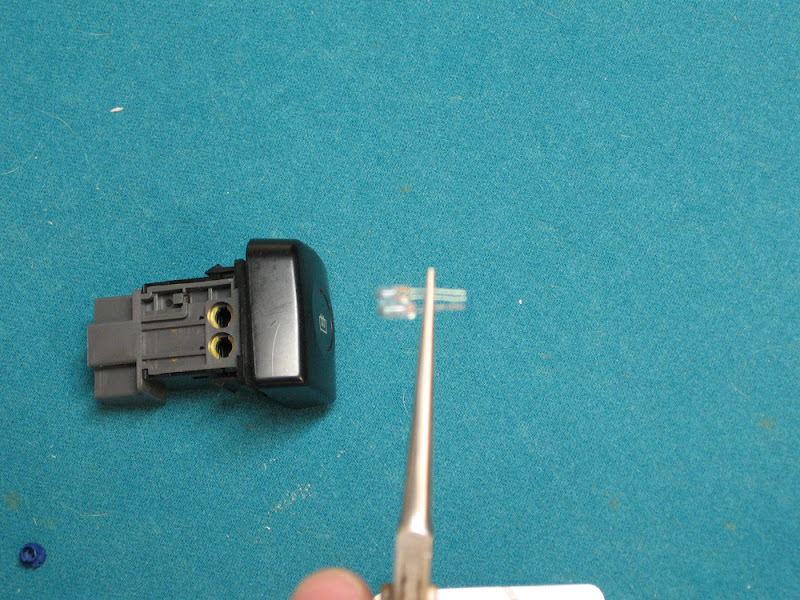
Put the condom back on the bulb and put the bulb in the holder.
http://is.rely.net/3-99-10432-…Q.jpg
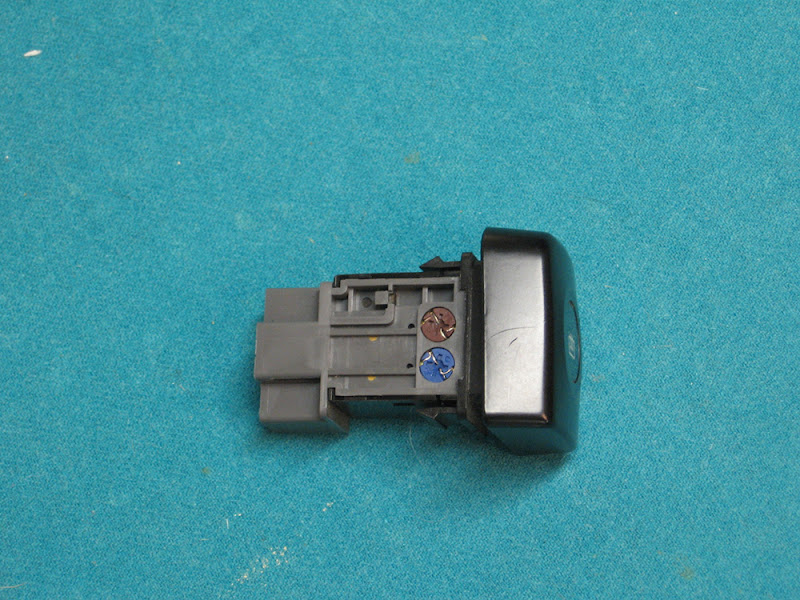
Wrap the wires back around the holder the way they were before and reinstall. The same process applies to any of the holders of that design.
Finished product:
– Headlight Motor Switch –
follow the same process as above:
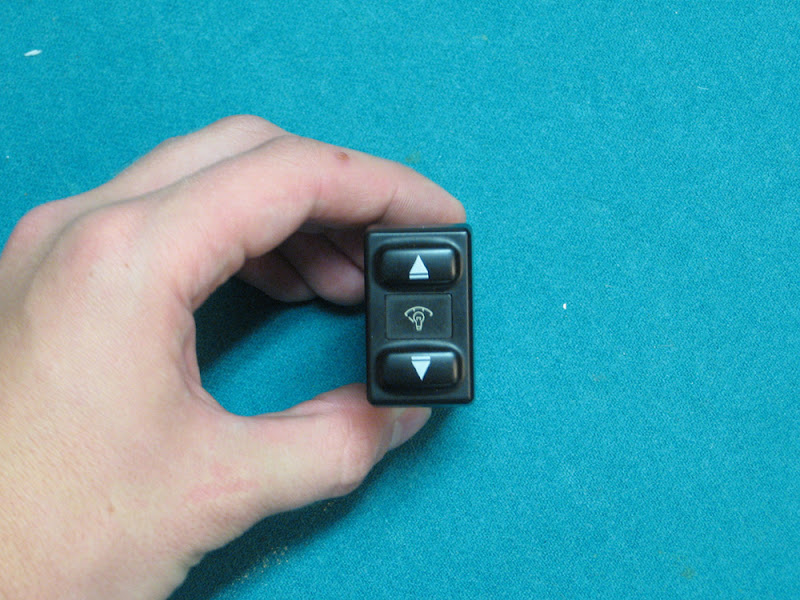
– Dimmer Switch –
– Hazard Switch –
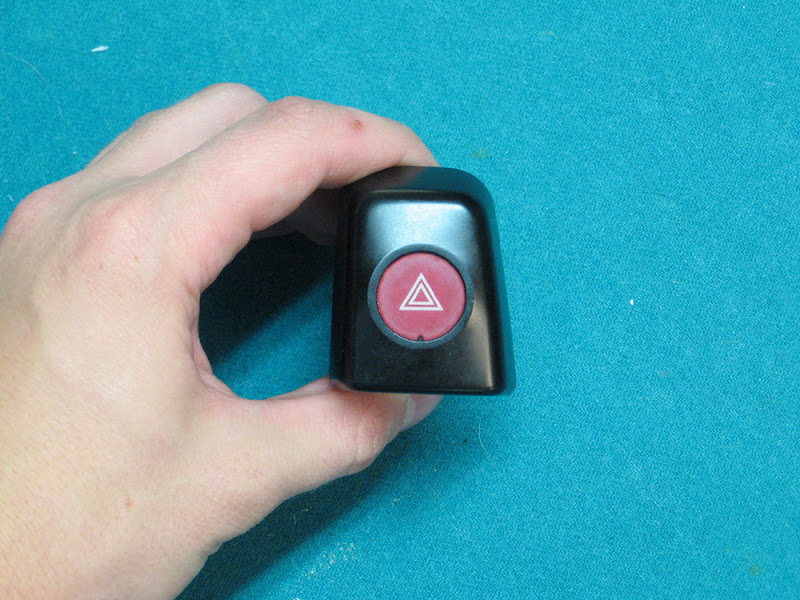
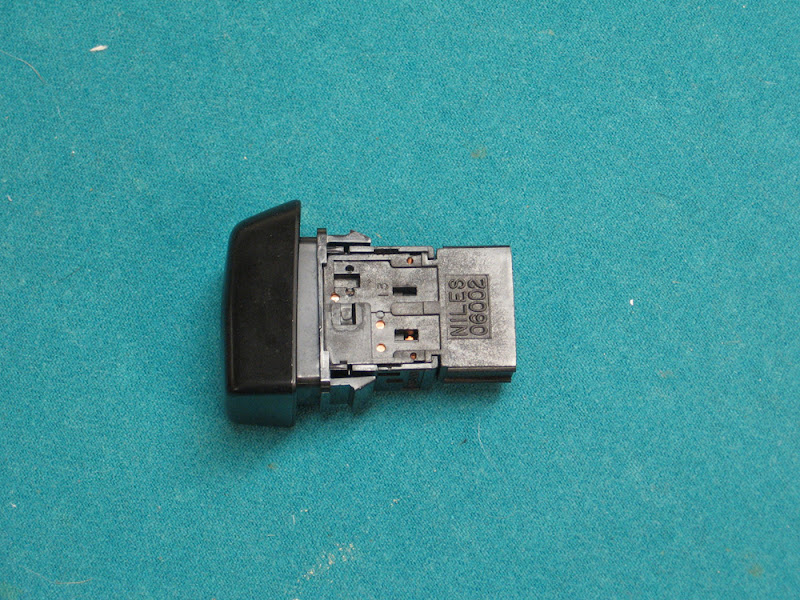
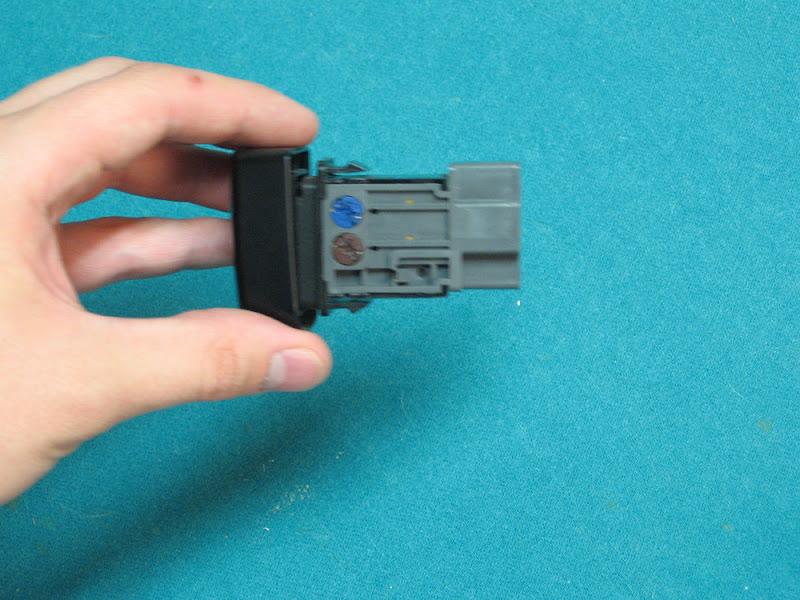
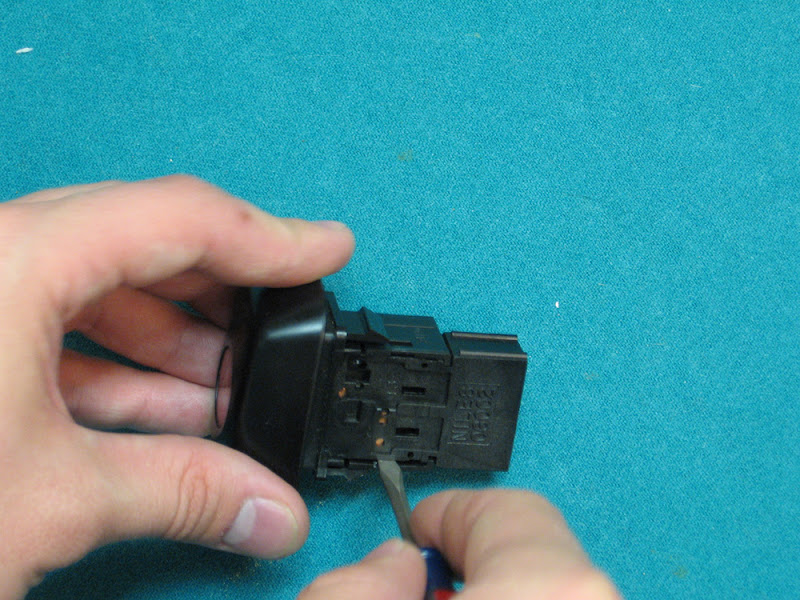
Carefully pry the pins apart.

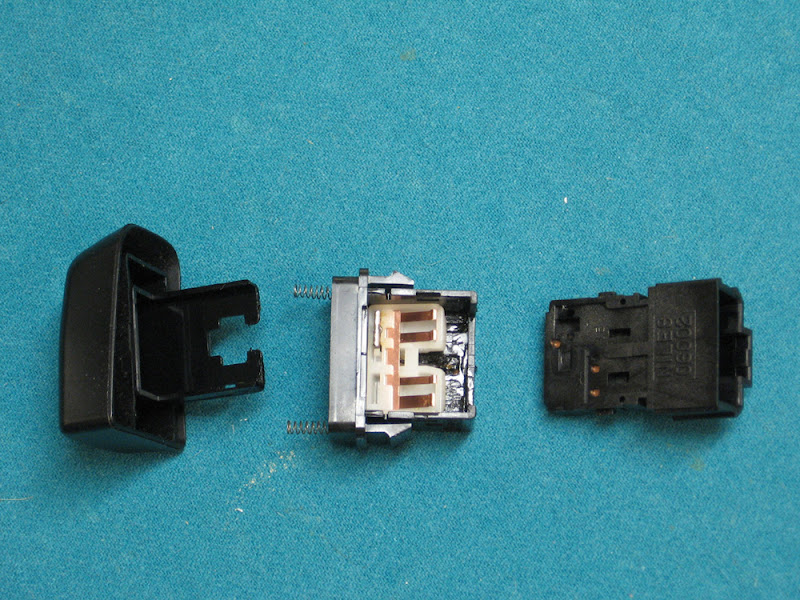
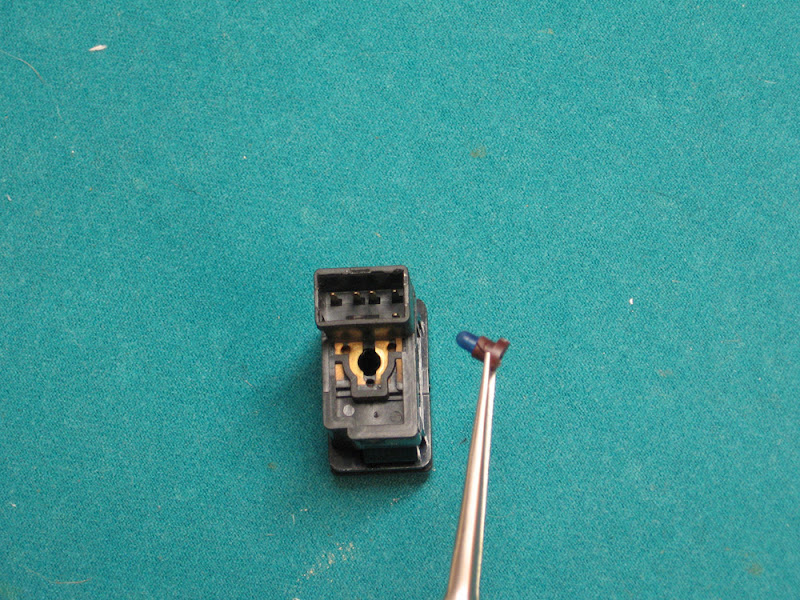
Remove the rubber bulb holder.
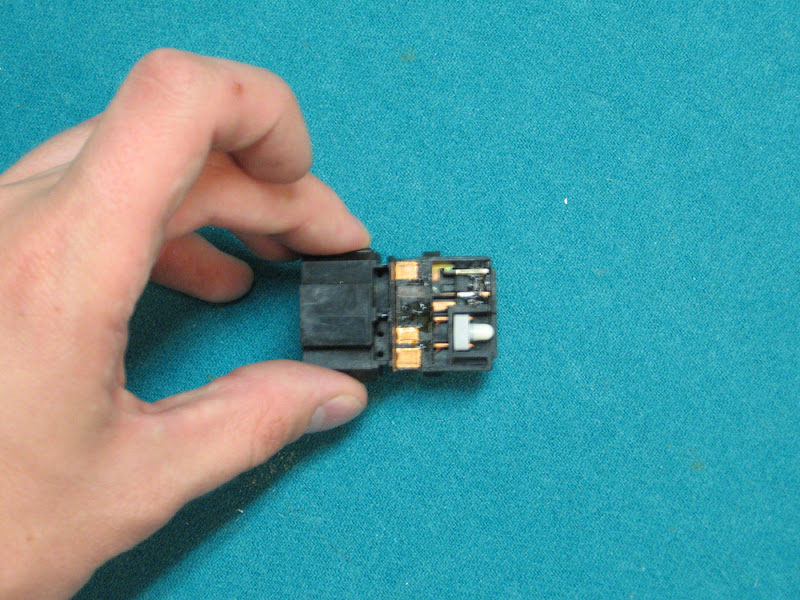
Remove the condom from the bulb and the bulb from the holder.
Reinstall new bulb per instructions detailed for defrost switch. Reassemble switch.